3D Maya Spaceship Project
- Han Choi
- Mar 9, 2024
- 1 min read

Updated: Mar 10, 2024
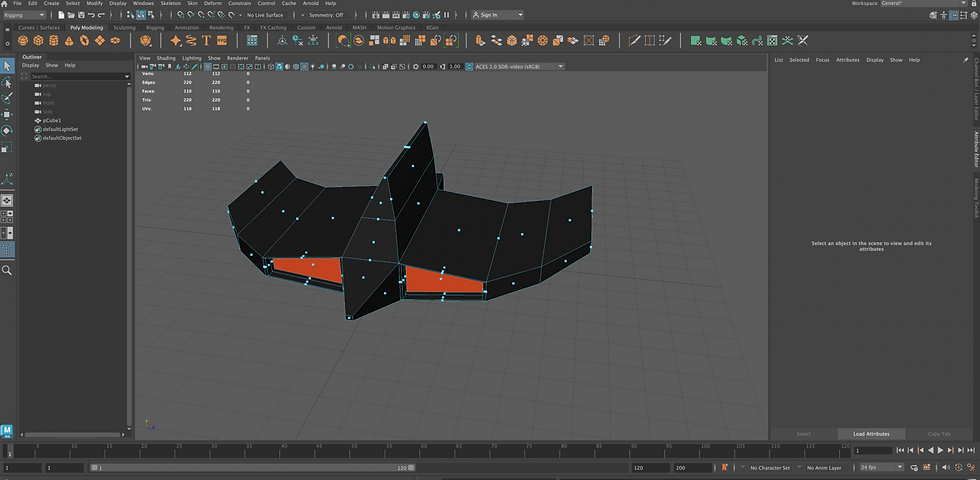
To model this spaceship I first created a 3D cube on the centre of the grid. I then extended the cube to form a rectangle by 6 squares/cm.

In order to create the basic shape of a spaceship, I right clicked and selected Face < select face < extrude. I used G + R to sharpen the edges. After some time and progress, this is my result.

Once the modelling is complete I then added colour to the spaceship. I selected Phong < colour. For the colour I used black with an bright orange to colour in the inside jets and thrusters.
After designing the spaceship, I decided to create controllers. This was done by clicking on curves < circle < control vertex. I then attached the controllers onto my ship to create the controllers.

Before starting the animation, I downloaded the city map from one drive and exported it into maya. Using the controllers that I have created I started animating the space ship animation.
I used the root controller to animate the rotation and the tilt of the spaceship along with adding light to enhance the city .

I then went to Create < Cameras < Camera to add a camera into my animation. This is necessary as the cameras are needed to render the space animation project successfully.
I placed the cameras onto the city by using the panel layout split view, and to switch to multiple cameras I clicked on to Panels < Perspective < Camrea1.


Comments